
When you nail your VR camming setup, you're not just streaming; you're creating a genuinely immersive experience. It's the kind of thing that lets you stand out in a seriously crowded market and, frankly, charge premium rates for a show that feels incredibly personal and interactive.
This is a complete shift in how you connect with your audience. You're moving beyond a simple 2D broadcast and inviting them into a shared virtual space with you.
Why Bother with VR Camming in the First Place?
Let's be real: getting started with VR camming is a bigger job than just plugging in a new webcam. It demands a bigger investment in hardware, a more powerful PC, and a bit of a learning curve to get it all running smoothly.
So, is all that faff actually worth it? For a lot of creators looking to build a serious brand, the answer is a definite yes. This isn't just some gimmick; it's a strategic move that can seriously pay off in both engagement and earnings.
Beyond the Novelty: The Real Business Case
At its heart, a VR camming setup completely changes the dynamic between you and your viewers. Instead of just watching you on a flat screen, they feel like they are right there in the room with you. That feeling of presence is something a traditional webcam can never hope to match, and it has some powerful commercial benefits.
Here’s why it’s such a smart play:
- Premium Pricing Power: Immersive, one-on-one VR sessions are a high-value experience. Viewers are often willing to pay a lot more in tokens or tips for a private show where they feel a genuine sense of connection and presence.
- Market Differentiation: The camming world is incredibly saturated. You're competing with thousands of other models for attention. Offering a VR experience instantly makes you different, helping you attract a niche but dedicated—and often high-spending—audience.
- Enhanced Viewer Engagement: The interaction goes way beyond just typing in a chat box. Viewers can see your avatar's movements and reactions in three dimensions, which leads to longer sessions, bigger tips, and much stronger loyalty.
A common myth is that VR is just for the super techy crowd. The truth is, it attracts people looking for deeper, more authentic connections. They aren't just paying for a show; they're paying for an experience.
Unlocking New Creative Avenues
Think of VR as a completely new stage, not just a new camera. You're no longer stuck in your physical bedroom. Your performance space can be anything you can imagine, from a futuristic cyberpunk apartment to a serene fantasy forest.
This creative freedom is a massive draw for both you and your audience. You can build entire personas and worlds around your stream, offering unique stories and interactive elements that will keep people coming back for more.
A proper setup gives you total control over the environment, letting you craft a custom atmosphere that perfectly matches your brand. It elevates your work from a simple broadcast to a piece of interactive performance art—and that's a powerful way to build a loyal fanbase and justify those higher token rates.
Choosing Your Core Hardware
Getting your hardware right is the most significant upfront investment you'll make, but it’s the bedrock of a stable, high-quality stream. Skimping here is a recipe for dropped frames, wonky tracking, and a frustrating time for both you and your audience. Think of this as building the foundation for your virtual studio—it needs to be solid.
This isn't just about buying the most expensive gear on the market. It’s about making smart choices that balance performance, your budget, and what you’re actually trying to achieve with your vr camming setup.
Nailing the Headset and PC Combo
Your VR headset and the PC powering it are a team; one can't pull its weight if the other is lagging behind. When you're streaming, you aren't just running a VR game. You're simultaneously running a complex virtual environment, processing full-body tracking data, and encoding a high-resolution video stream. That's a heavy lift that demands some serious horsepower.
A common mistake I see is pairing a top-tier headset with an underpowered PC. It’s like putting budget tyres on a sports car – you simply won't get the performance you paid for.
The potential payoff for getting this right is huge. A professional setup doesn't just look better; it feels more real for your viewers, which is what this is all about.

Ultimately, investing in the right hardware translates directly into a more immersive experience for your audience. That immersion is what drives higher earnings and builds a loyal following in the VR space.
When it comes to choosing a headset, a few clear front-runners have emerged, each with its own pros and cons.
Here's a quick comparison to help you weigh your options:
VR Headset Feature Comparison for Streaming
| Feature | Meta Quest 3 | Valve Index | HTC Vive Pro 2 |
|---|---|---|---|
| Tracking System | Inside-Out (Convenient) | Lighthouse (High Precision) | Lighthouse (High Precision) |
| Display Resolution | High (2064×2208 per eye) | Lower (1440×1600 per eye) | Very High (2448×2448 per eye) |
| Refresh Rate | Up to 120Hz | Up to 144Hz | Up to 120Hz |
| PC Connection | USB-C Link or Wi-Fi 6 | DisplayPort | DisplayPort |
| Best For | Budget-conscious beginners | Unmatched tracking accuracy | Visual fidelity and clarity |
| Key Consideration | Requires a robust PC link | Needs dedicated room space | Premium price point |
The Valve Index is often seen as the gold standard for PC VR, mainly because its "Lighthouse" base station tracking is incredibly precise. That precision captures every subtle movement, adding a layer of realism viewers love. For you, the high refresh rate and wide field-of-view also make long sessions much more comfortable.
The Meta Quest series is popular for being more accessible and affordable, but for our purposes, it absolutely needs a solid PC connection. That means either a quality Link cable or a dedicated Wi-Fi 6 router for Air Link. While its inside-out tracking is convenient (no base stations!), it can be less reliable than Lighthouse systems, especially when you add full-body tracking into the mix.
Then you have the HTC Vive Pro 2. This headset boasts a stunning high-resolution display that makes virtual worlds look incredible. It also uses the same rock-solid Lighthouse tracking as the Valve Index, making it another powerful contender for serious creators.
Your PC is the engine of this entire operation. As a baseline, you should be looking at a recent multi-core CPU (think Intel i7/i9 or AMD Ryzen 7/9), at least 32GB of RAM, and a powerful modern GPU like an NVIDIA RTX 30-series or 40-series card. The GPU's NVENC encoder will be your best friend, handling the heavy lifting of video encoding without bogging down your system's performance.
The Non-Negotiable Add-On: Full-Body Tracking
While you could technically start without it, full-body tracking (FBT) is what separates a basic VR stream from an immersive performance. It's the difference between being a floating torso with hands and a fully realised avatar that can dance, lounge, and interact in a natural, believable way. For any professional vr camming setup, FBT is pretty much essential.
The demand for this kind of gear is only growing. In fact, the UK virtual reality headset market is projected to hit USD 1.9 billion by 2030. This growth is fuelled by high-end devices and accessories that enable more immersive experiences, showing a clear appetite for quality VR content.
To get full-body tracking, you'll need a set of dedicated trackers—small, puck-like devices you attach to your body, usually on your feet and waist.
Here are the go-to options right now:
- HTC Vive Trackers: These have been the industry favourite for a long time. They're reliable, well-supported, and work perfectly with the Lighthouse tracking system used by the Valve Index and HTC Vive Pro.
- Tundra Trackers: A fantastic alternative to the HTC pucks. They're smaller, lighter, and often a bit more affordable, offering excellent performance without the bulk.
Just remember, these trackers require the same base stations that the Valve Index and HTC Vive Pro use. If you go with a Meta Quest headset, you’ll need to buy base stations and trackers separately and then use special software to make it all work together. It’s doable, but it definitely adds a layer of technical complexity.
If you're just starting out, it's often far simpler to stick with a native Lighthouse-tracked system. For more general advice on what to look for in streaming equipment, our guide on the best camera for live streaming covers core principles that apply here, too.
Getting the Software and Capture Settings Right
Hardware is only half the battle. Owning a powerful PC and a top-tier headset is a great start, but getting all the software to play nice together is where the real magic happens for your VR camming setup. This is the technical core, the digital plumbing that turns your movements into a smooth, professional-looking stream.
Think of your hardware as the stage and your software as the lighting director, sound engineer, and stage manager all rolled into one. Without it, you’re just standing in the dark. We’re going to get this right, focusing on the tools that actually work without any of the unnecessary fluff.
Mastering SteamVR and OBS Studio
Before you even think about going live, your foundation needs to be rock-solid. That begins with SteamVR. Get it installed, make sure your headset is detected, and run through the room setup process. This is also the perfect time to ensure your graphics card drivers are completely up to date; I can't tell you how many performance headaches I've seen caused by outdated drivers.
Once that’s stable, the heart of your broadcast operation will be OBS Studio. It's free, incredibly powerful, and the industry standard for a reason. Don't let all the buttons and menus intimidate you; we’ll focus on the parts that are essential for VR streaming.
The most crucial step is actually capturing the VR view. You can’t just use a standard "Game Capture" source. You'll need a specific tool, like the OpenVR Input Plugin for OBS. This brilliant little plugin lets you directly grab what your headset sees (or a smoother spectator view) and pull it into your OBS scene as a source.
The key areas to get comfortable with are 'Scenes' and 'Sources.' Just think of them as containers for all the different visual elements you want to show on your broadcast.
Dialling In Your Encoder and Bitrate
This is where a lot of new streamers get tripped up, but it's simpler than it sounds. Your encoder is what squeezes your video into a format that can be sent over the internet. The bitrate is just how much data you're sending per second.
Here’s what you need to know:
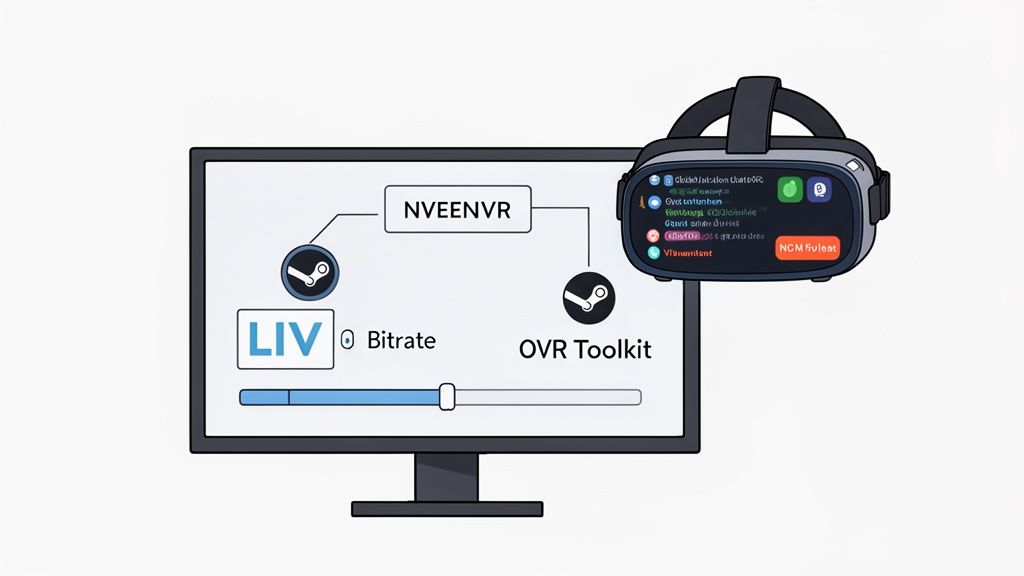
- Encoder Choice: If you have a modern NVIDIA graphics card (anything from the RTX series), always choose NVENC (new). It uses a dedicated chip on your GPU to do the heavy lifting, leaving your main processor free to run the VR environment smoothly. Trying to use your CPU (x264) for this is a recipe for dropped frames.
- Bitrate Setting: This one depends entirely on your internet upload speed. For a crisp 1080p stream at 60fps, a bitrate between 6,000 and 8,000 Kbps is the sweet spot. Run a speed test first—you need a stable upload speed of at least 10-15 Mbps to support this comfortably without issues.
A classic rookie mistake is setting the bitrate too high for your connection. This causes your stream to buffer and lag for your viewers, which is a total show-killer. It’s always better to have a slightly softer image that’s stable than a super-sharp image that constantly freezes.
The software side of VR is booming. While hardware gets a lot of attention, the UK's virtual reality gaming market shows that software is the fastest-growing segment, projected to help the market reach USD 4,081.1 million by 2030. This growth means more and better tools for creators like you are constantly being developed. You can read more about the UK VR gaming market's growth to see just how quickly this space is evolving.
Integrating Chat and Alerts In-Headset
The single biggest challenge of VR streaming is interacting with your audience when you can't see your monitor. Constantly taking your headset off to read chat completely shatters the immersion you’ve worked so hard to create.
This is where overlay tools become your best friend. Applications like LIV or OVR Toolkit are essential additions to your software arsenal. They let you create virtual windows that you can place and pin anywhere inside your VR environment.
This means you can see your chat, new follower alerts, and token notifications in real-time without ever leaving the virtual world. You can just glance over at your chat as if it were a floating tablet next to you and respond instantly. Honestly, setting this up is a non-negotiable step for a truly interactive VR camming setup. For those looking to streamline their workflow even more, exploring a Stream Deck alternative can give you customisable, physical buttons to control your software without having to fumble for a mouse.
Optimising Your Environment and Audio
You can have the most expensive hardware and perfectly dialled-in software, but it all means nothing if your broadcast space looks and sounds awful. A clean, well-lit environment with crisp audio is what separates a professional VR camming setup from something that looks like it’s being broadcast from a messy student flat. This is about turning your physical space into a proper virtual studio.
Getting this right isn’t just about looking good; it's about safety and keeping things running smoothly. A cluttered playspace is a one-way ticket to punching a wall or tripping over a cable mid-stream—not exactly the immersive experience your viewers are looking for.
Defining Your Playspace
First things first: clear out your space. You need a dedicated area where you can move freely without smashing into furniture. If you’re using full-body tracking, your base stations need a clear, unobstructed line of sight to your trackers at all times.
A good rule of thumb is to aim for a playspace of at least 2 metres by 2 metres. This gives you enough room for expressive movement without feeling hemmed in. I highly recommend marking your boundaries on the floor with gaffer tape or a soft rug. It's a lifesaver for feeling where the safe zone ends without having to peek out of your headset.
Remember, every object in the room is either a potential hazard or a tracking dead spot.
- Kill the Clutter: Get all cables, clothes, and stray objects off the floor. Anything you could possibly trip on needs to go.
- Cover Reflective Surfaces: This is a big one. Mirrors, glass picture frames, and even glossy TV screens can wreak havoc with Lighthouse tracking by bouncing the infrared lasers around. Cover them with a blanket or remove them from the room entirely.
- Check Your Background: Even if you're only showing a virtual avatar, your physical background might pop into view during mixed-reality scenes or if you have a facecam feed. Keep it tidy and neutral.
Getting the Lighting Right Without the Glare
Lighting for VR is a tricky balancing act. You need enough light for any real-world cameras to function properly, but you also have to avoid light sources that cause nasty lens glare inside your headset or mess with the tracking. Direct overhead lighting is a common culprit here.
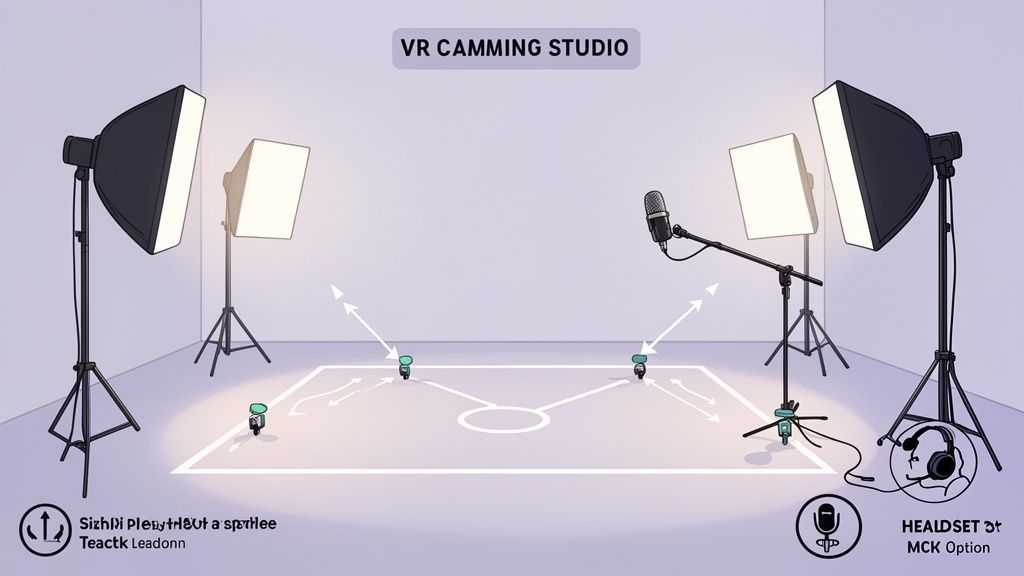
The best solution is soft, diffused lighting. I’ve found that a modified three-point lighting setup works wonders for VR:
- Key Light: Your main, brightest light, placed off to one side.
- Fill Light: A less intense light on the opposite side to soften any harsh shadows.
- Back Light: Positioned behind you to create separation from the background.
Use softboxes or ring lights with good diffusers. This creates a much more flattering, even light that won't blind your headset’s external cameras or create distracting reflections on the lenses. A key tip: never point a bright light directly at your headset.
A well-lit physical space doesn't just improve mixed-reality scenes; it also helps inside-out tracking systems on headsets like the Quest 3 maintain a more stable lock on your environment. I’ve seen countless tracking drift issues solved simply by improving the room’s lighting.
Your Voice is Your Most Important Tool
Finally, let's talk audio. Nothing makes viewers click away faster than muffled, echoey, or distorted sound. Your voice is your primary way of connecting and interacting with your audience, so making it sound crystal clear is non-negotiable for a high-quality VR camming setup.
While your headset has a built-in mic, it's almost never good enough for a professional broadcast. You’ve got two main upgrade paths: a clip-on lavalier mic or, my personal recommendation, a standalone condenser microphone on a boom arm. A great USB condenser mic, like a Blue Yeti or a Rode NT-USB+, will give you that rich, broadcast-quality sound you’re after.
Position the microphone just out of your camera's frame and slightly to the side of your mouth—this avoids picking up harsh popping sounds (plosives) from your breath. Once it’s set up, jump into OBS and add two essential audio filters: Noise Suppression and Compressor. These simple tools are fantastic for killing background noise and evening out your volume, making your voice sound consistently professional throughout the entire stream.
Staying Safe and Protecting Your Privacy
Stepping into VR camming is a fantastic way to connect with an audience, but the immersion that makes it so compelling also introduces some unique risks. It can easily blur the lines between your performance persona and your real life, which makes solid privacy and safety practices an absolute must from day one.
Think of this as your harm-reduction checklist for a world where your digital and physical identities can feel a bit too close for comfort.
The Ground Rules of Digital Safety
Your first line of defence is some basic digital hygiene, specifically for creators. I always tell people to create a completely separate, non-administrator user account on their PC that is used only for streaming. Never, ever use your personal login. This one simple move puts a wall between your personal files and your streaming setup, which can be a lifesaver if your system is ever compromised.
On top of that, a good, paid VPN (Virtual Private Network) isn't a "nice-to-have"—it's an essential part of any professional VR camming setup. A VPN hides your real IP address, which makes it incredibly difficult for anyone to track down your physical location. It’s a foundational security layer that helps protect you from doxing and targeted harassment.
Your Avatar, Your Identity, Your Shield
Your avatar is more than just your brand; it’s your shield. It's crucial to draw a very clear, very firm line between who you are online and who you are offline. This means choosing a unique avatar that has zero connection to your real-world appearance or any of your personal social media profiles.
The goal here is to craft a persona that exists entirely within your streaming world. To do this properly, you need to:
- Pick a unique username: Choose a handle you've never used anywhere else, ever.
- Use a separate email: Create a new email address just for your creator persona.
- Never share personal details: This one’s obvious but critical. Don’t ever mention your real name, where you live, or anything else that could identify you on stream.
This strict separation is your strongest defence against anyone trying to link your work to your private life. It gives you the freedom to perform and engage with your audience while keeping you firmly in control of your personal safety.
The VR scene in the UK is booming, with the market expected to reach USD 6 billion by 2033. As more and more people jump into these virtual spaces, the need for watertight privacy controls becomes even more critical. You can get a sense of just how big this is getting by reading up on the UK's expanding virtual reality market.
Using Platform Tools and Setting Boundaries
Every decent platform has safety tools built-in, and it’s your job to become an expert on them. Before you even think about going live, get familiar with how to block, mute, and report users. These aren't just features; they're essential tools for curating a safe space for yourself and your genuine fans. Dive into your platform’s moderation settings and crank them up as high as you feel you need to.
Platforms also have a responsibility to make sure creators are who they claim to be. Many sites now have strong identity checks, which helps weed out bad actors from the start. If you're curious about the tech behind this, you can see how a modern age verification app works.
Ultimately, though, the tech can only go so far. Your most powerful tool is your own voice. You need to set and enforce firm boundaries from the get-go. Be crystal clear about what you will and will not tolerate in your space. Having a plan for what to do before harassment happens—knowing exactly how you'll react, who gets an instant block, and when to pull the plug on a session—is vital for protecting your mental well-being in this line of work.
Answering Your VR Camming Setup Questions
Jumping into a VR camming setup can feel a bit overwhelming. You've followed the guides, you've bought the gear, but there are always those little questions that make you second-guess yourself. Let's clear up some of the most common queries I see, so you can stop scrolling through forum threads and start streaming with confidence.
Is Full-Body Tracking Really a Must-Have to Start?
Short answer: yes. Treat it as a non-negotiable part of your kit. While you could technically stream with just your head and hands tracked, your viewers are there for an immersive performance, and a floating torso just doesn't cut it. Full-body tracking (FBT) is what truly sells the experience, allowing you to dance, pose, and interact in a way that feels real and captivating.
Think of FBT less as an optional upgrade and more as the core of a professional setup. It’s what separates a quick novelty from a compelling performance that people are happy to pay for.
How Much Upload Speed Do I Actually Need?
Your upload speed is the single most critical part of your internet connection for streaming—far more important than download. For a smooth, high-quality stream at 1080p and 60 frames per second, you'll want a consistent upload speed of at least 10-15 Mbps.
This gives you plenty of breathing room to set your stream bitrate in OBS to a solid 6,000-8,000 Kbps without pushing your connection to its limit. It also creates a vital buffer to handle any random network hiccups.
Here's the golden rule: always use a wired ethernet connection. Seriously. Wi-Fi is just too unreliable for high-bitrate streaming, no matter how fast your router is. Don't let interference or dropped packets ruin your stream for the sake of convenience.
Can I Get Away with Using a Standalone Headset like the Quest 3?
Unfortunately, no. Standalone headsets like the Meta Quest 3 are fantastic for self-contained gaming, but a proper VR camming setup absolutely depends on a powerful PC.
Your computer is doing all the heavy lifting behind the scenes. It runs the complex VR world, processes your full-body tracking data in real time, and crucially, encodes your high-resolution video before sending it out to your audience. A standalone headset simply doesn't have the horsepower to juggle all of that. You’ll be tethering your headset to the PC, either with a quality USB-C Link cable or wirelessly via a dedicated Wi-Fi 6 router.
What's the Best Way to See Chat and Alerts While in VR?
Taking your headset off every few seconds to check your monitor completely breaks the immersion for both you and your audience. The solution is a dedicated VR overlay application.
These tools are essential for staying engaged with your viewers without breaking character.
- OVR Toolkit: This is the go-to for many streamers. It’s a powerful tool that lets you pin customisable windows inside your VR space. You can pop your chat, alerts, or media player right into your field of view so you never miss a thing.
- LIV: Known primarily for mixed-reality capture, LIV also includes some fantastic, easy-to-use in-headset utilities for streamers, including slick chat and alert overlays.
Taking the time to get one of these set up properly is a game-changer. It means you can have a natural, flowing conversation with your audience, making them feel like they're right there with you. That direct interaction is what live performance is all about, and these overlays make it possible in a virtual world.